

How To Enable Telnet In Windows 10
How to enable the Telnet Client in Windows 10
Posted by on April xviii, 2015
By default the telnet customer in Microsoft's Windows operating systems is disabled, this is unfortunate as information technology is an extremely useful tool which can be used for testing TCP connectivity to external hosts on a specified port.
This is keen when you're trying to troubleshoot network connectivity problems, for example, say nosotros have a web server which should exist listening on port 80 to serve HTTP traffic but we are not able to load a spider web page, by using telnet to connect to the web server on port 80 nosotros tin can verify the connectivity.
It may be that the connectivity is fine but there is a problem with the spider web server, or that the web server is stopped and the port is not listening at all, for case. With telnet nosotros tin can go a better understanding of what'due south going on.
Update October 21st 2015: I accept also created a video showing the process:
Enabling the Telnet Client
Firstly y'all need to enable the telnet client, if you don't enable it yous'll get a event like to the below message when trying to employ information technology.
C:\>telnet google.com eighty 'telnet' is not recognized as an internal or external command, operable program or batch file. C:\>
You can enable the client either by command line or through the graphical interface.
Enabling the telnet customer through command line
Run the below control in control prompt with administrator permissions.
dism /online /Enable-Feature /FeatureName:TelnetClient
That's information technology, after a few seconds telnet should be fix to use.
Enabling the telnet client through the graphical user interface
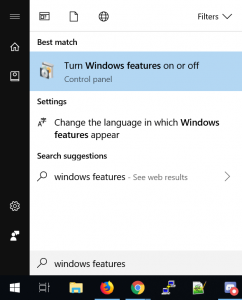
- Click the start button, then start typing "Plow Windows features on or off", and select this selection, equally shown below.
- The "Plough Windows Features on or off" window should open, whorl down and select "Telnet Customer".
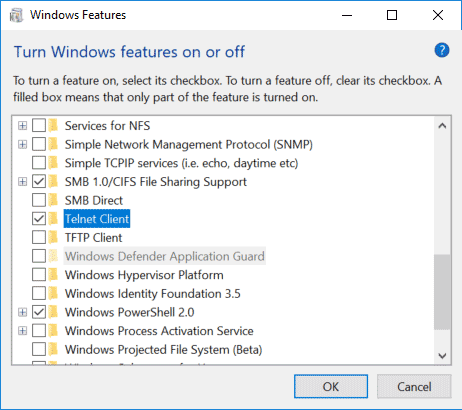
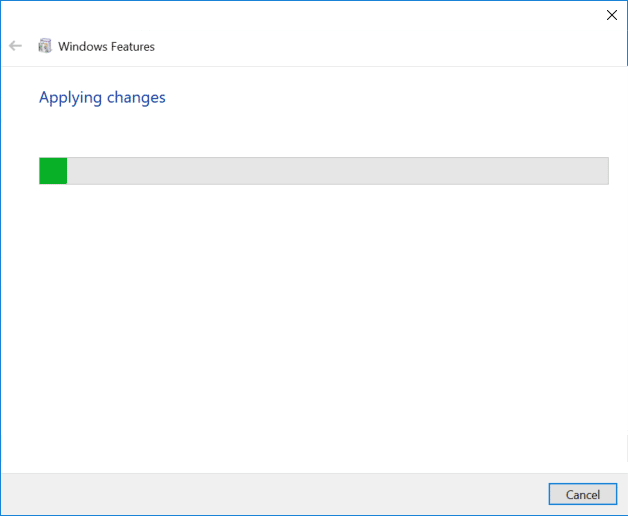
- Click the OK button to proceed, this will display a screen while the changes apply.
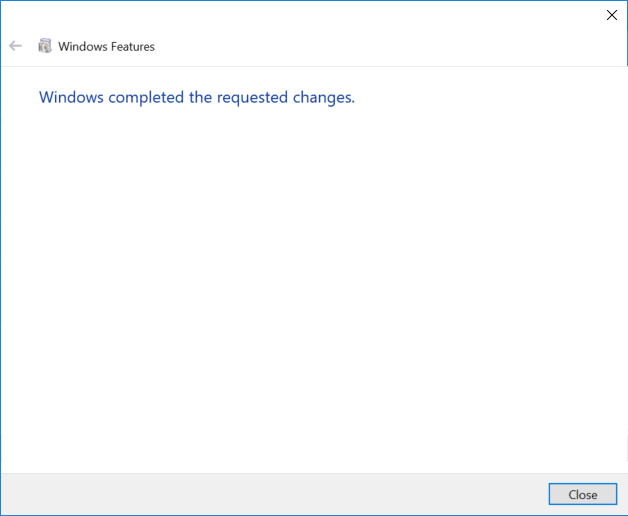
- When complete it volition display as below, you can now close the window.
Verifying that the telnet client is enabled
Simply open up control prompt or powershell, blazon 'telnet' and press enter. If this was successful you lot should have a prompt similar to the below:
Welcome to Microsoft Telnet Client Escape Character is 'CTRL+]' Microsoft Telnet>
Already have telnet installed but still declining?
In some cases yous must run command prompt or powershell as administrator in order to issue the telnet command, otherwise it will give the same error as if it was not enabled at all.
Summary
Now that you lot accept enabled telnet you should be able to start issuing commands with it and using information technology to troubleshoot TCP connectivity problems.

How To Enable Telnet In Windows 10,
Source: https://www.rootusers.com/how-to-enable-the-telnet-client-in-windows-10/
Posted by: millerbeftelf1970.blogspot.com
0 Response to "How To Enable Telnet In Windows 10"
Post a Comment